Tempo / Time Signature Editor
The Tempo / Time Signature Editor window contains both the Time Signature Editor and the Tempo Editor. It also lets you set the number of the first bar.
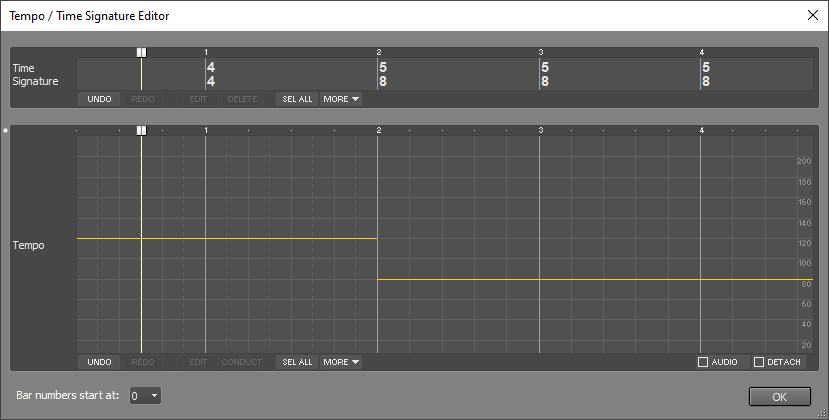
The Tempo / Time Signature Editor window is available only if at least one track contains a MIDI file. This is because time signature and tempo information is stored in MIDI files.
Time Signature Editing
You can change the time signature (numerator/denominator) of a selected part using the EDIT button. Editing the time signature does not change the notes in MIDI tracks, use the Song Editor for that.
The Paste and Repeat options of the MORE menu respect the Ripple setting. The Cut and Delete options always act as if Ripple is on (i.e., the right-hand part shifts left when you delete a part).
Tempo Editing
In the Tempo Editor, you can change the tempo (beats per minute, BPM).
By default, the Tempo Editor affects MIDI tracks only. If the Audio button is checked, audio tracks are affected as well. It's recommended to ensure any monophonic audio tracks use the monophonic transpose algorithm. Use the track editor's EDIT button to access this option. The Tempo Editor features tweakable edits, which help avoid stretching audio parts multiple times.
The EDIT button opens a window where you can type a BPM value, tap the tempo using the space bar, or click the tempo in the Tap tempo box.
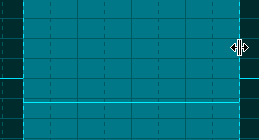
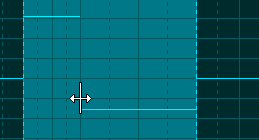
The tempo of the selected part can be changed by dragging the line up or down:
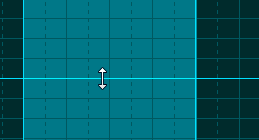 |
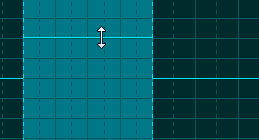 |
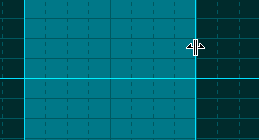
If you drag the right-hand edge of the selected part while holding the Alt key (Windows) / Command key (Mac), the tempo will adjust accordingly:
 |
 |
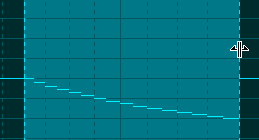
Hold the Ctrl key in addition to create an accelerando or decelerando:
 |
 |
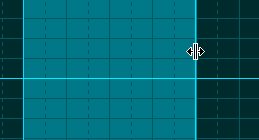
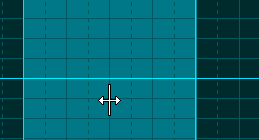
You can move any grid line in the selected part by holding down the Alt key (Windows) / Command key (Mac):
 |
 |
 |
- Select a part in the Tempo Editor.
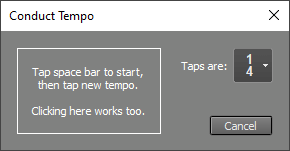
- Click the Conduct button. The Conduct Tempo window appears.
- Press the space bar to start. The transport starts automatically at least one bar before the selected part.
- Start tapping the beat on the space bar.
- When the selected part begins, the music will mute, and you can continue tapping the tempo for that part.
- After you've tapped enough beats, the transport will stop. Click OK to close the Conduct Tempo window.
The MORE button provides access to lesser-used features like Delete, Cut, Copy, Paste, and Repeat. Paste and Repeat take into account the global Ripple setting. Cut and Delete always operate in Ripple mode (i.e., the right-hand part shifts left when a part is deleted).
Edit operations affect the following items:
- MIDI tracks (the MIDI file, Automated Fader effects, and automation data).
- If the Audio button is checked: Audio tracks (the audio file, Automated Fader effects, and automation data).
- If the Audio button is checked, or the song contains no audio tracks: Groups, Effect Returns, and Master sections (Automated Fader effects, Vocal Tuner effects, and automation data).
The Detach button detaches the tracks from the Tempo Editor. In this mode, tempo changes won't affect the notes in the tracks. You can use this feature to match the tempo to a "free time" recording, or to go from, for example, 100 measures at 120 BPM to 50 measures at 60 BPM.
Note: The Click Track and Chord Tracks will be updated even if Detach is enabled. These tracks follow the tempo (and time signature) by definition.
Note: The Tempo can't be edited while the transport is running.
Bar Numbers
The Bar numbers start at box sets the number of the first bar. The default is 0, so the music starts at bar 1 if the first bar is used for count-in. Use 1 if there's no count-in, or -1 for a two-bar count-in. The lowest possible value is -9, which allows for a ten-bar count-in.